Building a Microsoft Wireless Display Adapter base image
Published · Last revisedAfter I picked up (and disassembled) a Microsoft Wireless Display Adapter, I started bugging Microsoft for the source code to the Linux-powered base image -- the underlying host operating system and support infrastructure. After three months of back and forth, the Source Code Compliance Team finally uploaded a buildroot that can be used to generate a base image. Unfortunately, it came with zero documentation.
Here's my general step-by-step on building the base image with Hyper-V and CentOS 7. Feedback is welcome.
-
Create a virtual machine and install CentOS 7.
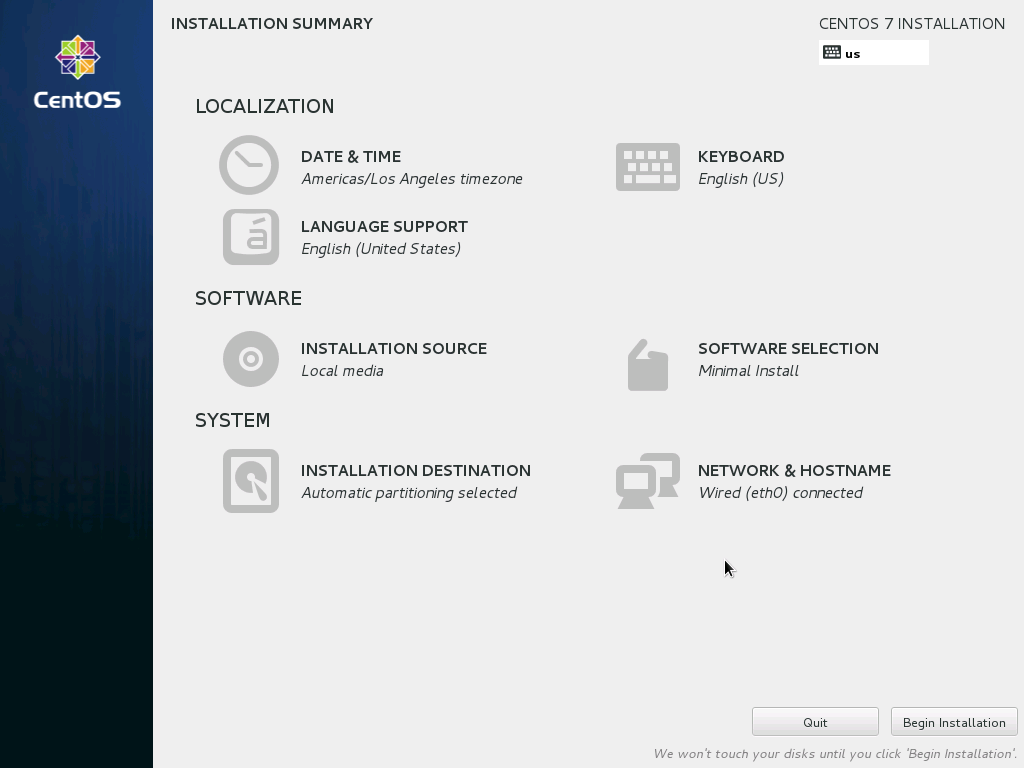
- If you choose to go down the Generation 2 VM route (recommended), don't forget to shut off Secure Boot.
- Ensure you create a non-root administrative user during install. Mine will be rafael and will be used for all commands henceforth.
-
Download the buildroot.
You only need the buildroot package from the Third Party Source Code Disclosures website.
A little background: Initially, Microsoft uploaded a bunch of smaller buildroot output artifacts. But after some back and forth, I was able to convince them to upload the buildroot itself, making the other files less useful.
You'll also want to get the zip copied over and unzipped in the virtual machine. The following instructions will assume you unzipped the buildroot folder in the user's home directory (~/buildroot).
-
Install some prerequisites.
Buildroot requires a few packages to operate. They can be installed easily via one command:
sudo yum install net-tools flex which sed make bison binutils gcc gcc-c++ bash patch gzip bzip2 texinfo perl tar cpio unzip rsync wget ncurses-devel cvs git mercurial subversion python bzrIf you decide to use 64-bit version of CentOS, you'll also need some 32-bit support packages. They, too, can be installed easily via one command:
sudo yum install compat-libstdc++-33.i686 libstdc++.i686 libstdc++-devel.i686 -
Build an old ldconfig
Due to a bug in newer versions of the GNU C Library, ldconfig has trouble with ARM architectures. So we need to grab a working copy and recompile ldconfig for the toolchain. (Alternatively, we could downgrade the entire OS.)
Let's first set up the required root folder then download and extract the software:
mkdir glibc-build
cd glibc-build
wget http://ftp.gnu.org/gnu/glibc/glibc-2.15.tar.gz
tar -zxvf glibc-2.15.tar.gz
Now, still in the root folder we created, issue the commands:
./glibc-2.15/configure --prefix=/usr
make
Compilation will take a few minutes. When it's done, copy the replacement ldconfig into the buildroot toolchain:
cp ./elf/ldconfig ~/buildroot/output/host/usr/bin/arm-none-linux-gnueabi-ldconfig -
Configure Buildroot 2012.02
Before we can build the toolchain and packages, we need to write out a .config file. First, enter the buildroot folder and issue the command:
make menuconfig
In the configurator that appears, select Load an Alternate Configuration File and provide the following configuration file:
~/buildroot/microsoft.buildroot_config(Microsoft has provided a slew of configuration files but none of them perfectly match the retail device configuration. For our purposes, however, it's good enough. You're free to select more packages for compilation.)
Exit the configurator and save your changes.
Now let's quickly fix up some missing execute permissions and we'll be ready to go:
chmod +x ~/buildroot/support/scripts/* chmod +x ~/buildroot/support/gnuconfig/config.guess chmod +x ~/buildroot/support/dependencies/*.sh -
Build a base image
This part is easy. Still in the buildroot folder, simply issue the command:
make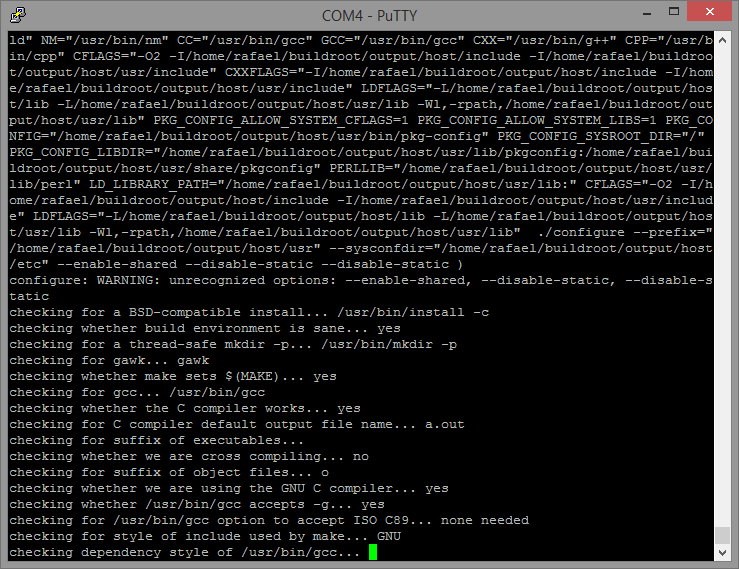
And wait.
My virtual machine was configured with a mere 1GB of RAM and 4 virtual processors clocking in at 3.4ghz. The build completed in about 10 minutes.
After the build completes, you'll have a nearly complete root filesystem for the adapter stored in the target folder.
-
Deployment?
Microsoft hasn't provided the scripts or steps necessary to create an actual image to flash onto the Microsoft Wireless Display Adapter, so the instructions must come to abrupt end here.
If you have root on the device -- coming in a later post -- you can use the toolchain to compile packages and transfer them over to the device.
Know how to take this further? Or how to connect to/reflash NAND? Or have experience building jigs? Email me. I'd love to pick your brain.